Table of Content
Just off the top of your head, you can probably think of, or tinker with, a few ideas to get your slideshows running. The most straightforward methods are usually plugging in a USB drive, casting from your phone, or hooking up a laptop with an HDMI cable, all of which are simple, straightforward, and often enough to meet the need in that moment.
But what if you need that same slideshow running on multiple screens, in different locations, without being physically there to manage it? What if the content needs to change often, or follow a schedule?
For teams already working across locations, or those who simply want a cleaner, more reliable way to manage screen content, a cloud-based digital signage software is the best alternative. With just a shared Google Slides link and a few clicks inside Look Digital Signage, you can manage and update slideshows remotely, with full control over how and when they appear.
In this guide, we’ll walk through the most practical ways to play a slideshow on a TV in 2025, including step-by-step guides of the simple offline setups and the smarter, scalable options for growing teams.
USB Slideshow Playback: The Fastest Offline Option
When you need to set up a slideshow quickly with no network or cloud services involved, the traditional USB stick is your best bet. Almost every modern TV has a built-in media player that reads JPG, PNG, and MP4 files right off your flash drive. Because everything runs from the drive, there is no dependency on Wi‑Fi or external devices, which makes this method ideal for venues with spotty internet or for users who simply want a “set it and forget it” display.
How to play a slideshow from a USB drive
- Prepare content on your computer. Place your images or videos in a clearly labelled folder. For PowerPoint or Google Slides presentations, export slides as JPEG files to ensure compatibility
- Name and order. Use zero-padded numbering (001, 002, 003) so the TV plays in sequence.
- Format the USB drive correctly. Ensure the drive uses a file system your TV can read, such as FAT32 or exFAT
- Copy the files and safely eject. Transfer the folder to the drive and eject it properly to avoid corruption.
- Insert the USB stick into the TV. Plug it into an available USB port and use the TV remote to navigate to the built‑in media player and select the folder.
- Start the slideshow. Choose the slideshow or loop option; many TVs allow you to set slide duration or autoplay mode.
Pros
- Fully offline.
- Plug-and-play on most TVs.
- No ongoing costs.
Limitations and tips
- TVs vary in codec support. If MP4 does not play, re-export with standard H.264 video and AAC audio.
- Image slides scale to the TV’s aspect ratio. Design at 1920×1080 or 3840×2160 to avoid black bars.
- Some TVs stop playback after power outages. Enable auto-play on power-on if the TV supports it.
- Keep a spare USB and label it by location.

Mirror Slideshows from a Mobile Phone: iPhone & Android
Smartphone mirroring replicates everything on your phone’s display onto the TV in real time. You can rotate your device, swipe through photos or pinch to zoom, and the television mirrors your actions. This makes it perfect for impromptu sharing at family gatherings, brainstorming sessions or quick client meetings when you don’t have a prepared USB drive or laptop.
Under the hood, mirroring relies on wireless protocols such as AirPlay (Apple devices), Google Cast or Chromecast (Android), Samsung Smart View or Miracast, each of which requires a sender (your phone or tablet) and a receiver (a smart TV, streaming dongle or set‑top box).
Because the connection is wireless and temporary, it’s best suited for short presentations rather than continuous signage, and both devices must be on the same network for most protocols to function.
Step-by-step with iPhone or iPad via AirPlay
- Connect both devices to the same Wi‑Fi network. AirPlay only works when your iOS device and receiver (Apple TV, AirPlay‑compatible smart TV or Mac) share a network.
- Open Control Center. On newer iPhones swipe down from the upper‑right corner; on older models swipe up from the bottom.
- Tap “Screen Mirroring.” Select your TV or Mac from the list.
- Enter any AirPlay code. If prompted, type the passcode shown on your TV.
- Start your slideshow. Open Photos or your presentation app and rotate your phone landscape. To stop mirroring, open Control Center again and tap Stop Mirroring.
Android phones via Chromecast
Using Chromecast (Google Cast)
- Plug in a Chromecast dongle (if your TV doesn’t have built‑in Chromecast) and ensure it is on the same Wi‑Fi network as your phone.
- Open the Google Home app. Select your Chromecast device and tap “Cast my screen.” Confirm by tapping Cast Screen.
Pros
- Fast to start.
- No cables.
- Works from any spot with Wi-Fi coverage.
Limitations and tips
- AirPlay and Google Cast only work when both devices are on the same Wi‑Fi network.
- Corporate networks may block screen mirroring protocols, so always test ahead of time.
- You cannot schedule or loop slides indefinitely without third‑party apps.
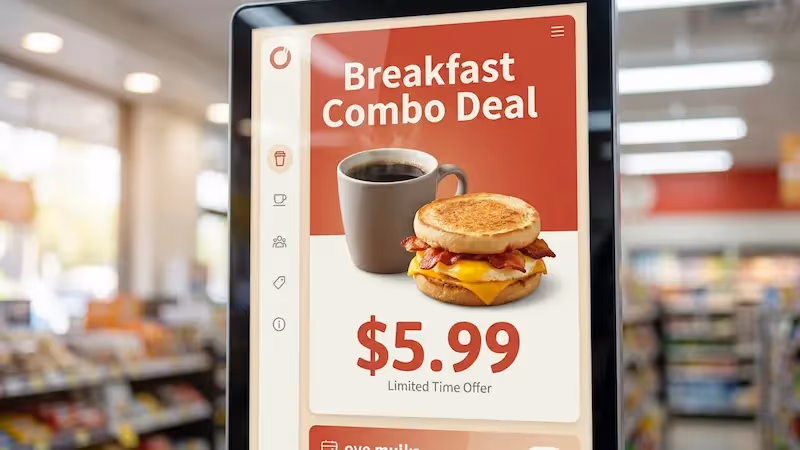
Cloud‑Based Digital Signage Software: Best for Business
When you need to keep dozens of screens updated with fresh messages, promotions or announcements, swapping out USB sticks or lugging a laptop from TV to TV isn’t scalable. Instead of managing each display locally, a slideshow digital signage software enables you to upload your slides, videos, and graphics to a central web dashboard and assign them to playlists that push out automatically to any number of screens.
Google Slides + Look CMS integration
You can now display Google Slides on TV remotely with the Look platform. If your team already builds presentations in Google Slides, Look’s purpose‑built app lets you publish them to your TVs without downloading files or converting formats.
Once you paste the link to your deck, the system pulls the slides from your Google account and caches them on the media player, so updates you make in Google Slides automatically appear on all connected screens.
How to publish Google Slides via Look DS
- Open the Look DS CMS and navigate to the Apps page. Click on the Google Slides card.
- Paste the link to your presentation. In the application settings panel, enter the URL or ID of the Google Slides file.
- Set slide duration and looping. Specify how many seconds each slide should appear and enable auto‑play and repeat.
- Add the app to your content list. Click Add content to include the slideshow in your playlist.
- Assign the playlist to screens and schedule as needed. You can update the slides from your Google account without touching the TV. Look DS caches content locally for offline playback, so your screens keep running even if the internet drops.
Why digital signage?
- Remote updates. A central web console lets you upload new slides, schedule them and push changes to displays anywhere in the world without visiting the site.
- Flexible layouts. You can divide the screen into zones and show a slideshow alongside news tickers, weather widgets, or dashboards.
- Scheduling and content management. Play different slides at different times of day, display emergency messages instantly, and organise playlists ahead of time.
- Scalability. Add screens easily by pairing them with a low‑cost media player like Amazon Signage Stick, Chromecast, or Raspberry Pi; no need to run cables around the building.
Who benefits most?
- Corporate communications teams are seeking to broadcast internal announcements and KPIs across headquarters and remote offices.
- Educational institutions and churches wanting to display lesson slides or sermon notes alongside real‑time announcements.
From USB Simplicity to Cloud Power
Before settling on a method, consider how often you need to change the slideshow, whether you need remote management, and who will operate the system. Test your chosen setup ahead of an important event to avoid awkward delays.
If your operations demand frequent updates or you manage multiple locations, invest in a cloud‑based digital signage system. The time and frustration you save will more than offset the subscription cost. Your audience, whether customers, employees, students, or congregants, will appreciate professional slides that run flawlessly.
If you’re ready to transform any TV into a smart slideshow display, explore Look Digital Signage with a free 14-day trial and see how easy it is to update your slides remotely and schedule content across multiple screens.