Screenshot
Screenshot function allows taking a screenshot and uploading it to the Look CMS. This can be useful when it is required to make sure that content and layouts are displayed correctly on screens.
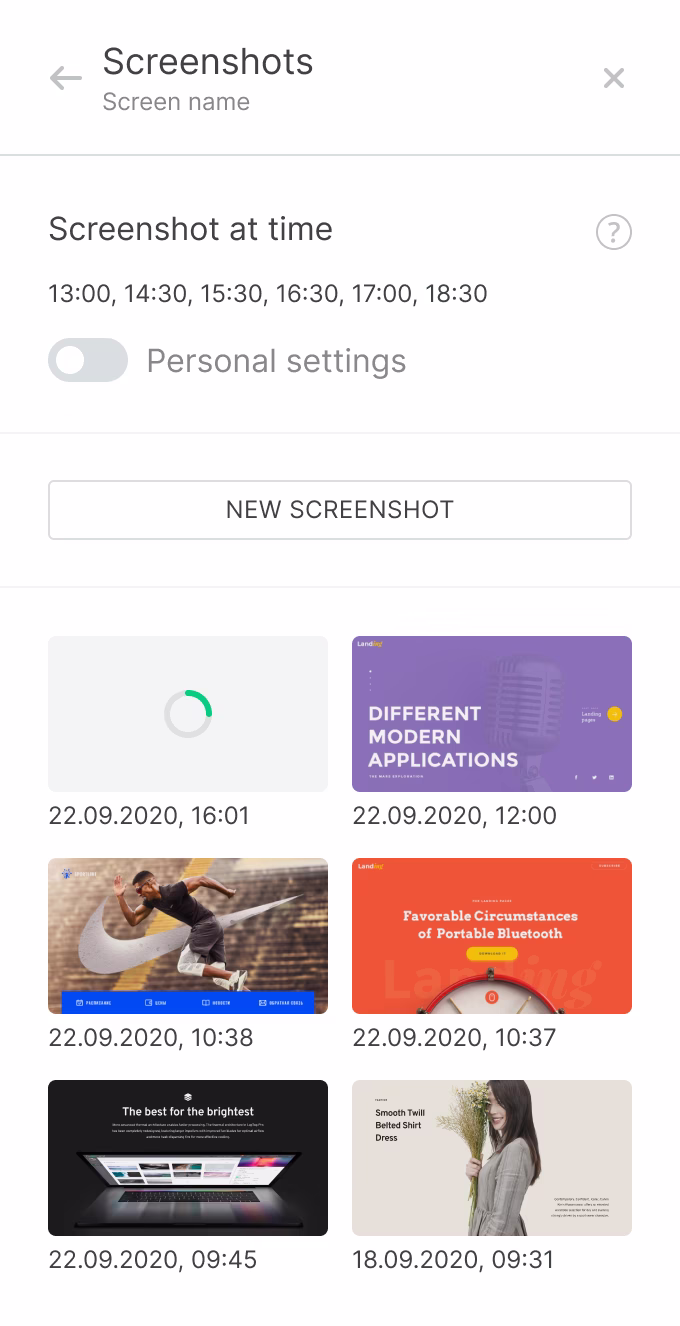
- To take a screenshot, go to the Screen settings and click on the Screenshot button. This should open an additional screenshot panel.
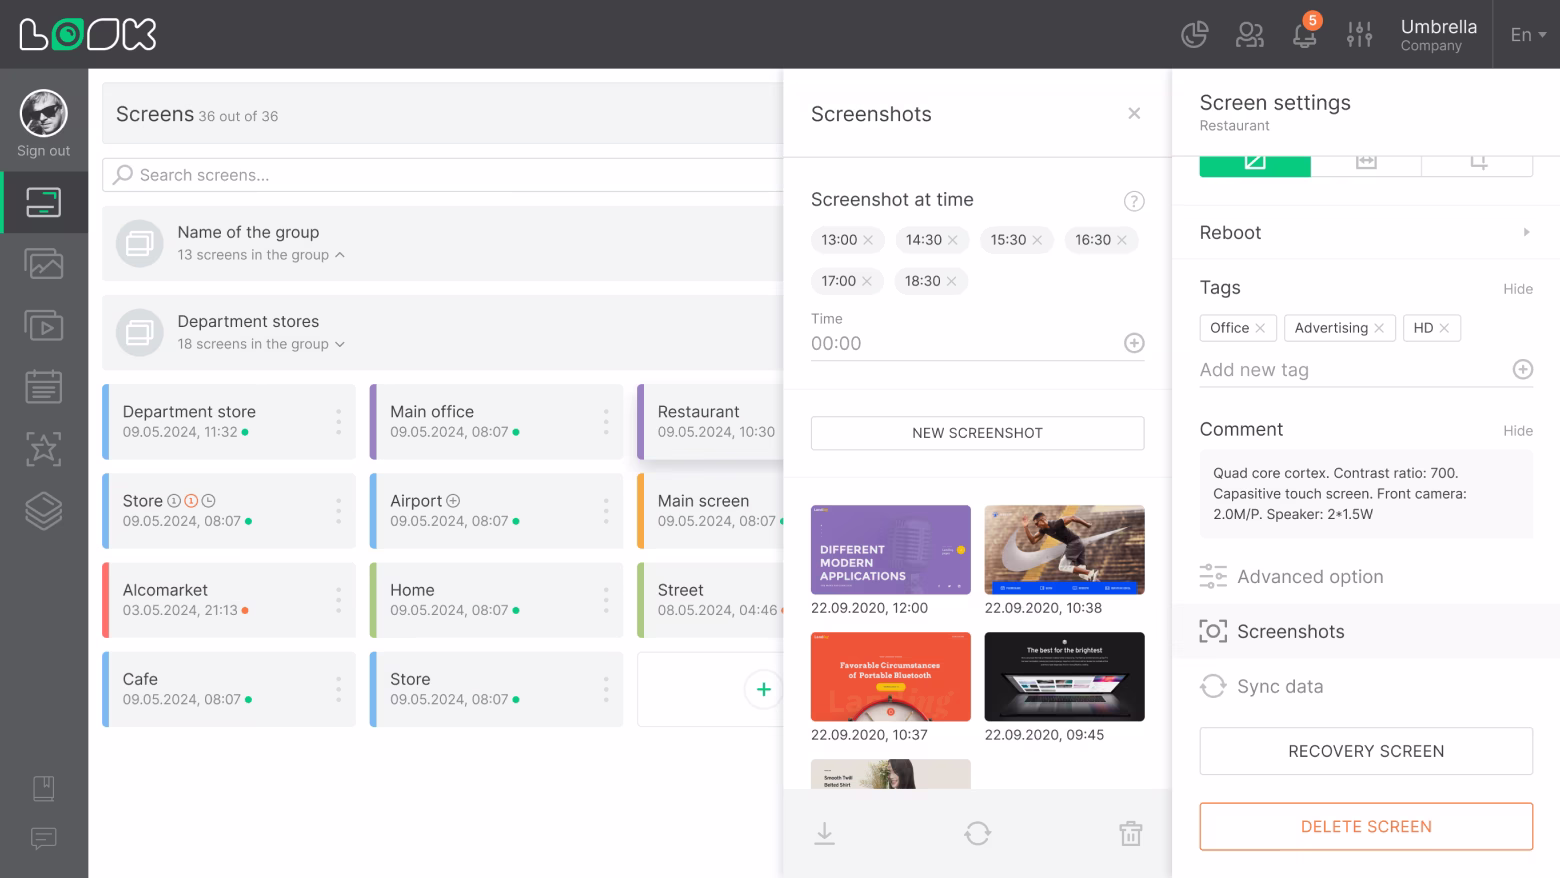
- You can create a schedule to take screenshots every day at a specific time. To do this, enter the required value into the time input and press the [+] icon, or the Enter key.
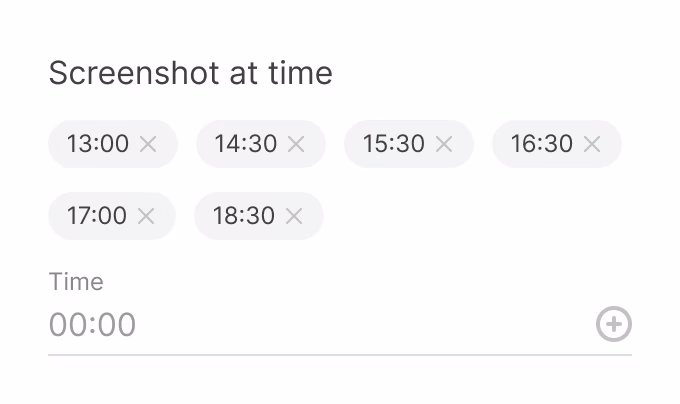
- Screenshot schedule can contain up to 12 timestamps.
- To remove a timestamp, click on the cross next to the time you want to remove from the schedule.
- To take a screenshot in real time, click the New Screenshot button.
- Below the New Screenshot button, a list of all taken screenshots will be displayed.

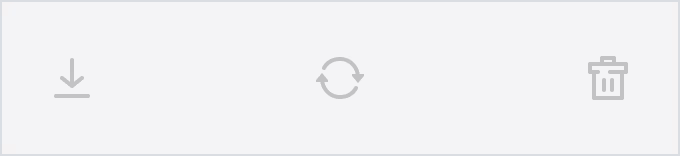
- At the bottom of the control panel there are buttons for downloading and deleting all screenshots, as well as the Refresh button to update the status of the taken screenshots.
Not more than 24 snapshots can be stored for one screen at a time. If there are already 24 entries in the list of screenshots, then a new screenshot will automatically replace the oldest one.
If the screen is not connected to the Internet, the ability to take a new screenshot is not available.
Screenshot for a Group of Screens
- The Screenshot function operates for a group of screens in a similar fashion. Only instead of a list of screenshots, the settings display a list of screens in a group.
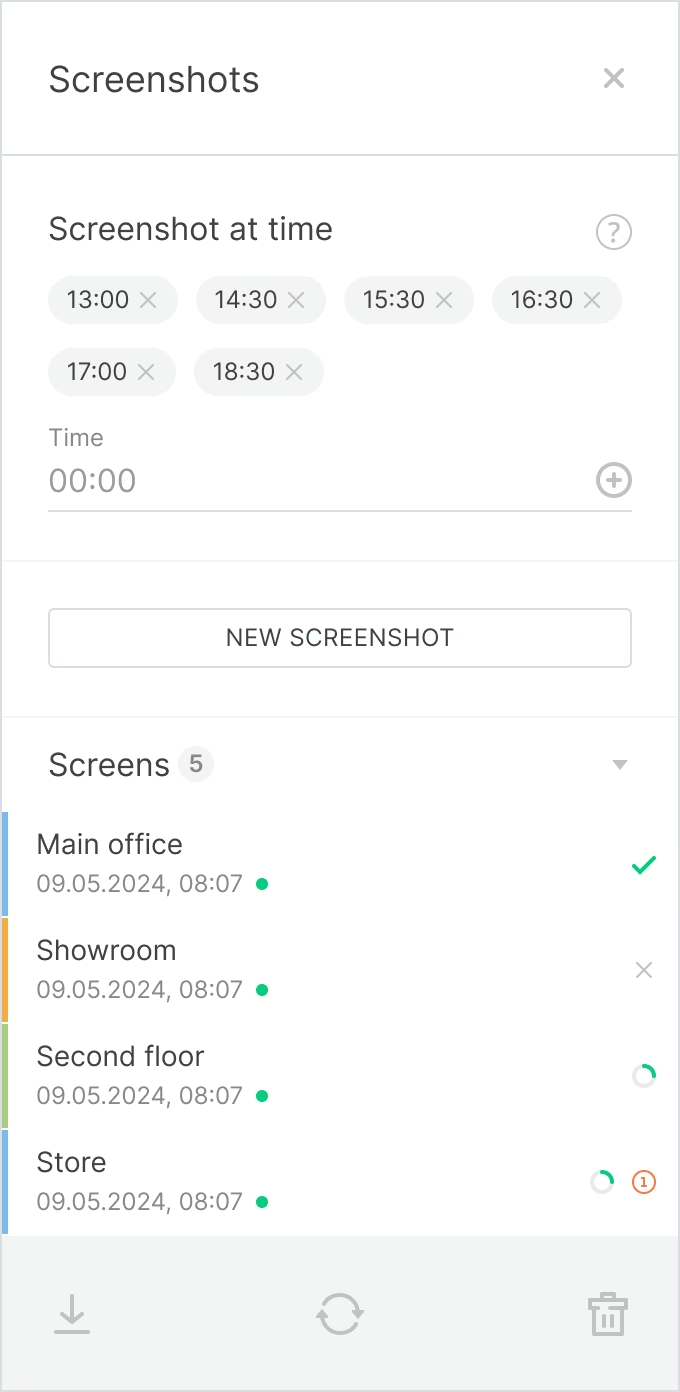
- A green check mark in the screen list line means that a screenshot has been successfully uploaded. The red cross icon indicates an error when taking a screenshot.
- In the bottom menu, you can also download or delete all screenshots of all screens in the group and update the download status.
- By clicking on the line with a screen name, you can go to the list of screenshots of a specific screen in the group.Here you can also set up a personal schedule for a specific screen in the group. To do this, activate the Personal Settings slider and specify the required values.
Can't find your answer?
Contact Support


