Group of screens
Screens can be grouped. This feature is useful when you need to apply the same settings or content to multiple screens at once.
Creating Group
- On the screens page, click the Create group button in the page navigation bar.
- In the modal window, type the group name, select the screens you want to merge into the group, and click Create.
Group Management
Adding New Screen to a Group
To add a new screen to a group, move the pointer over the 3 dots on the right side of the group card and click on the Add screen to the group icon.

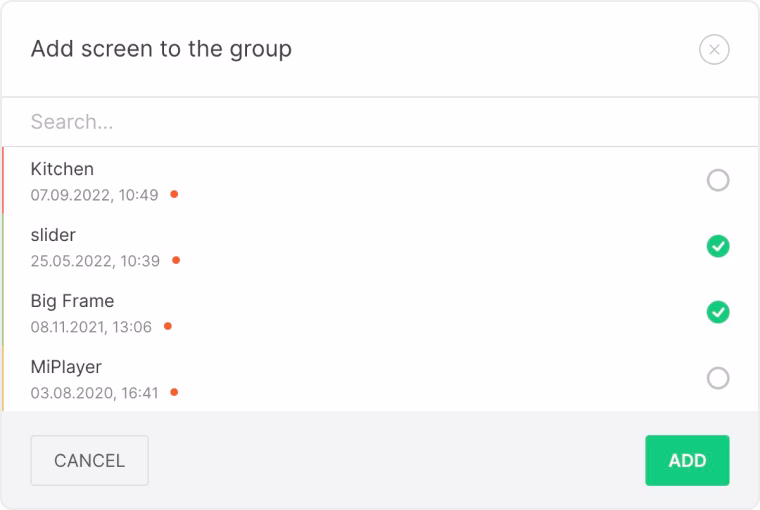
In the modal window, select the screens you want to add to the existing group and click the Add button.
Alternatively, you can add a screen directly from the group page.
- To do this, click on the icon Group of screens,
- In the right sidebar, you’ll see the list of screens in the group. Click Add Screen.
- In the modal window, select the screens to add and click the Add button.
Removing Screen from a Group
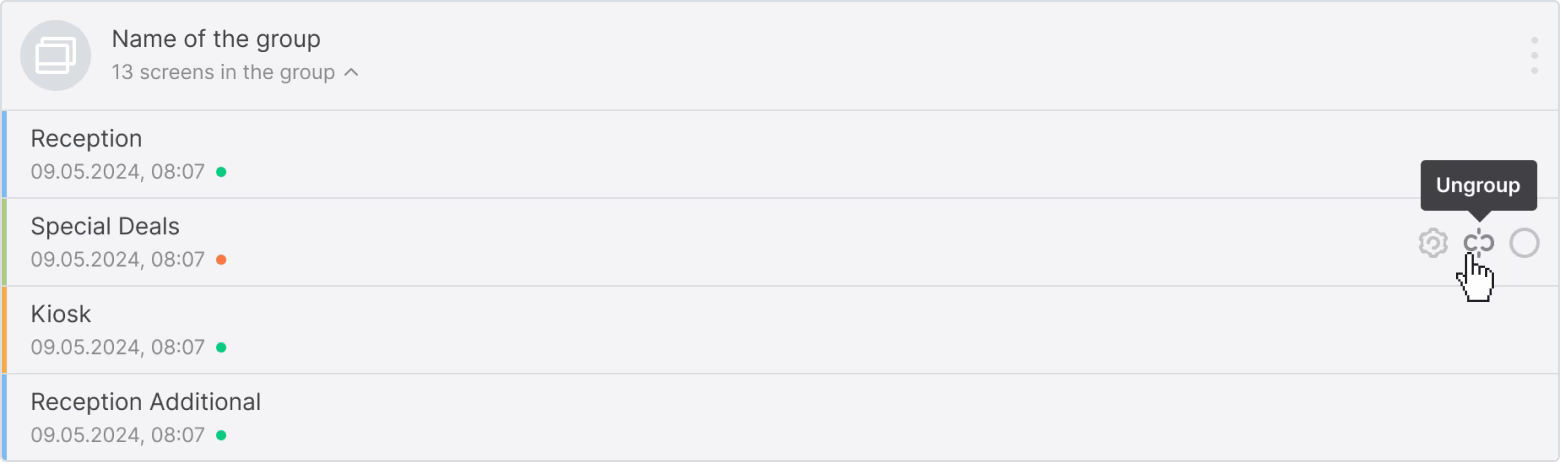
To remove a screen from a group, click on the screen number counter under the group name, select the required screen from the pop-up list, click on the broken circuit icon on the right side of the line and confirm the removal.
To delete a screen on the group page, click on the View screen in a group icon, select the required screen in the right sidebar, click on the broken-chain icon next to its name, and confirm the removal.
In this case, the screen will not be removed from your account, it will only be removed from the group and switched to single screen status.
Deleting a Group
You can delete a group by clicking on the Ungroup icon in the group card.

The screens in the group will not be removed from your account, they will be converted to single screen status.