Table of Content
For real estate professionals, digital signage is the competitive edge you've been looking for to gear your marketing efforts for the win.
Put simply, digital signage for real estate is a network of digital displays that showcases your properties, market expertise, and brand values in a way that gets more customers through your door while establishing your business as the authority in your market.
But in order to deploy an effective signage system, you need to understand how it works and choose the right hardware without overspending or buying equipment that doesn’t fit your specific business needs.
How Digital Signage Works in Real Estate: Cloud-Based Software
Digital signage software is a cloud-based platform where you manage everything needed to get content on your screens (a smarter alternative to using USB sticks). It lets you add displays, create and organize content, and then push it to all locations from one dashboard.
Content Creation
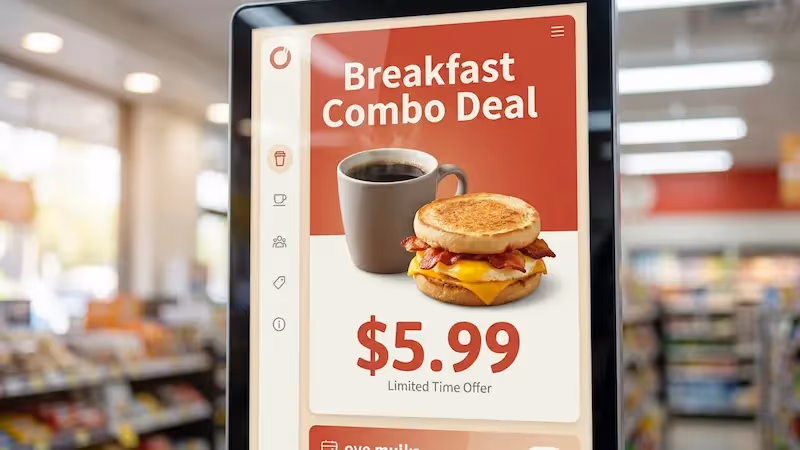
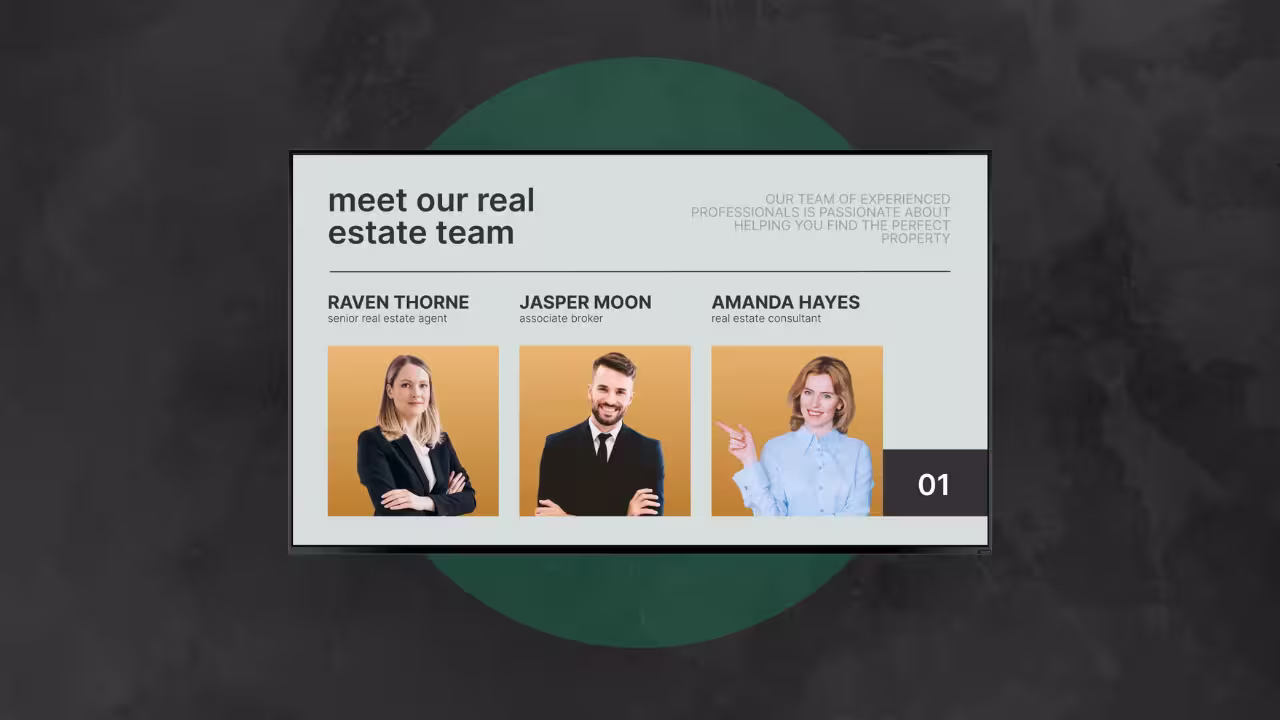
The very first thing that comes after installing the displays is planning and creating content. The best part is that you can repurpose marketing materials you designed for other purposes and use the pre-designed templates provided by your signage software to customize the layout with your media files, current pricing, property details, and branding elements.
Since real estate relies on visuals, aim for sharp, high-quality media. As a benchmark, videos should be at least 1080p, and images should be high-resolution to maintain clarity and impact.
Playlist and Scheduling
Once you've created individual content pieces, you organize them into playlists that determine the order and timing of what appears on your screens. You can categorize playlists based on location, campaign type, property category, or any system that makes sense for your business operations.
The CMS allows you to create screen groups, so when one playlist is relevant to different locations, you can send it simultaneously to multiple screens instead of updating each one individually.
From there, you set a schedule to program specific content to run on certain days or times, after which the content switch happens automatically.
Publishing
With the schedule set, you can publish to all locations simultaneously or target specific displays for location-specific content like individual property showcases.
When you hit publish, the cloud platform sends a signal to your media player, which automatically downloads the new content and pushes it to the designated screens.
Playback
The media player stores and plays back the content on the screen according to your schedule. The process is fully automated, and all updates are handled remotely to ensure your content is always current without any manual intervention.
The Benefits of Cloud-Based Management For Realtors
Everything You Need in One Integrated Platform
If you refer back to the content workflow we just discussed, you'll notice that not once did you have to use any third-party tool to get your signage running. A cloud-based management system consolidates every tool you need, including built-in apps for weather widgets, news feeds, social media integration, and design and scheduling tools.
In scenarios where you need to pull data from external sources, such as your listing database or MLS system, you can use the built-in integrations provided, such as APIs, to automate updates.
Saves More Money as You Scale
With a cloud platform, one dashboard gives you complete control over every screen in your portfolio, while still letting you adjust messaging for individual markets or locations without duplication the workload.
Larger teams benefit from role-based permission controls where the head office ensures the brand stays consistent, while local staff can add details like open house dates or neighborhood-specific promotions.
ROI Starts Immediately and Compounds Over Time
Screens pay for themselves quicker than printed materials by cutting recurring printing and distribution costs while putting your listings in front of more buyers. Instead of sinking thousands each year into static flyers, a small annual subscription per screen keeps your content fresh, dynamic, and working around the clock to attract qualified leads.
Built-In Analytics and Real-Time Monitoring
Since your CMS is your signage headquarters, you get tons of data helpful in improving your marketing effectiveness. You can see exactly what content ran on each screen with detailed timestamps that help verify your ads and campaigns are running as planned.
You can also integrate QR codes with UTM tags to track which displays and content types drive the most qualified leads through your existing web analytics tools. Many platforms offer real-time dashboards where you can monitor the status of every screen, check media player health, and get instant alerts if something goes offline. This helps you fix issues quickly without risking downtime.
Best Digital Signage Hardware for Realtors: Screens & Players
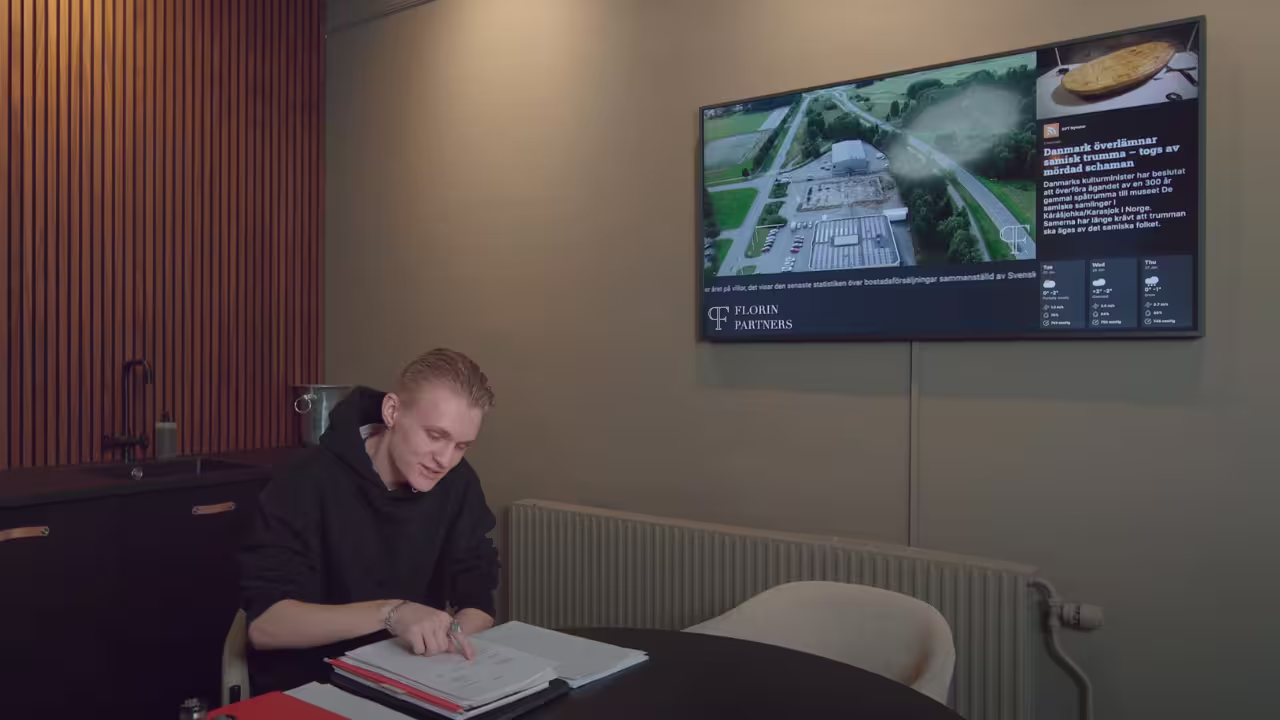
Display Screens
One biggest misconceptions is that you need to spend thousands on commercial displays for every application. In reality, regular TVs work perfectly fine in many real estate scenarios and can save you significant money, but only if it makes sense for your specific use case.
Regular screens (Consumer TVs) are best for office lobbies with controlled lighting, conference rooms, and low-traffic areas where the display runs 6-8 hours per day. If you're an individual agent with one or two displays that operate during business hours only, a quality regular TV will serve you well. These displays also work well for temporary installations, seasonal displays, or when you're testing digital signage before making larger investments.
Professional screens for digital storefronts (Commercial displays) become necessary when you move into high-traffic locations, 24/7 operation, or if your display runs more than 12 hours daily, handles heavy foot traffic, or operates in areas with temperature fluctuations.
You benefit from better warranties, professional mounting options, and enhanced durability. If you're a large brokerage with multiple locations, you'll appreciate the consistency and reduced maintenance calls.
Media Players
A media player is a small computer that stores your content, processes it, and sends it to the screen. Without one, most regular displays can’t run videos, schedules, or interactive features smoothly because they don’t have enough built-in computing power.
If you have a smart TV, you might not need a separate player since many allow you to install your signage app directly. For basic setups, simple consumer streaming devices such as Amazon Fire TV or Chromecast can work for displays running 6–8 hours a day with straightforward content such as rotating property photos or simple slides. However, they aren’t built for heavier workloads.
Professional media players are more reliable for 24/7 operation and complex content with videos and animations since they have more processing power and storage. Typical cost is $130–800 but you get industrial-grade reliability.
You can also opt for System-on-Chip displays where the player is built directly into the screen. They reduce cable clutter and potential connection issues, but they tend to be pricier.
Note: SoC displays are not interchangeable with professional media players. They typically have less computing power, and if the built-in player fails, you often have to replace the entire display. With a separate media player, you just swap out the failed device and keep your existing screen.
Brightness Requirements
Brightness is measured in nits, which represent how much light a screen gives off. The higher the number, the easier it is to see the display in bright conditions.
- Standard indoor locations – 250 to 400 nits are enough for offices or showrooms with controlled lighting.
- Window displays or areas with strong natural light – 400 to 700 nits keep content readable even with sunlight nearby.
- Direct sunlight or outdoor signage – 1,000+ nits are needed so the screen stays clear and visible during the day.
To learn more, read What Are Displays Nits and How Many Are Needed Outdoors?
Choosing the Right Hardware for Your Real Estate Needs
Now that you know the components, let's match them to your specific goals.
Scenario 1: Individual Agent or Small Team Office
Goal: Create professional presentations in your office lobby and conference room without overspending on unnecessary commercial features.
Screen: 43-55 inch consumer TV/commercial display
Brightness: Standard 250-350 nits handles typical office lighting effectively since you control the environment.
Media Player: If your TV is smart, simply install the software app directly. Otherwise, opt for a simple consumer streaming device such as the Chromecast or Fire TV Stick to run the application reliably.
Scenario 2: High-Traffic Storefront with Window Displays
Goal: Attract foot traffic with bright, dynamic displays visible through large windows in direct sunlight.
Screen: Commercial displays with 700-1,500 nits brightness work best for demanding window applications:
Media Player: It’s more advisable to use a professional media player since you’ll likely be running animations, video content, or other heavy visual elements that require more processing power for smooth playback during 12+ hour daily operation.
Scenario 3: Multi-Location Property Management
Goal: Standardize professional displays across multiple properties for announcements, directories, and resident communications while maintaining centralized control through the software platform.
Screen:
- 43-65 inch commercial displays for lobby installations
- 32-43 inch displays for elevators and common areas
Media Player: Opt for professional media players since they can handle continuous operation more reliably.
Installation Tips for Professional Results
Visibility and Sightlines
Position displays where they naturally catch attention without creating obstacles. In office lobbies, consider how clients move through the space and place screens along natural sightlines. Avoid locations where viewers must strain to see your content clearly.
Height and Viewing Angles
Mount displays with the center at eye level for your primary audience. In standing areas like lobbies, this typically means 55-65 inches from floor to screen center. For seated viewing areas, lower mounting (45-55 inches) provides more comfortable viewing angles.
Environmental Factors
Avoid mounting displays where direct sunlight creates glare or where heating and cooling systems create temperature extremes. Consider lighting throughout the day. Screens that look perfect in morning light might become difficult to read in afternoon sun.
Key Takeaways and Next Steps
Digital signage works when you choose the right equipment for your situation and let the software handle the updates. You don't need to be a tech expert or spend a fortune to get professional results that help your business stand out.
The system pays for itself quickly through saved time and eliminated printing costs, but most importantly, true value comes from having displays that always show current information without you having to think about it. Your marketing keeps working even when you're busy with clients.
Find the perfect setup for your property and see how Look makes it easy to manage your content remotely.