How to set up a Raspberry Pi with Look
Follow this step-by-step guide to flash and launch Look on your Raspberry Pi device.
Requirements
- A PC running Windows, macOS, or Ubuntu x86
- MicroSD card with at least 8GB capacity
- Custom Look DS image: 2025-06-17-custom-look-pi.img
Download Required Files
- Download the custom Look OS image archive:
raspberry_pi_os_custom_look_image.zip - Extract the .zip file to access the .img file.

- Download and install the official Raspberry Pi Imager:
Raspberry Pi Imager
Prepare the MicroSD Card
1. Insert your MicroSD card into the computer.
2. Launch Raspberry Pi Imager.
3. In the imager:
- Choose Device: Select your Raspberry Pi model.

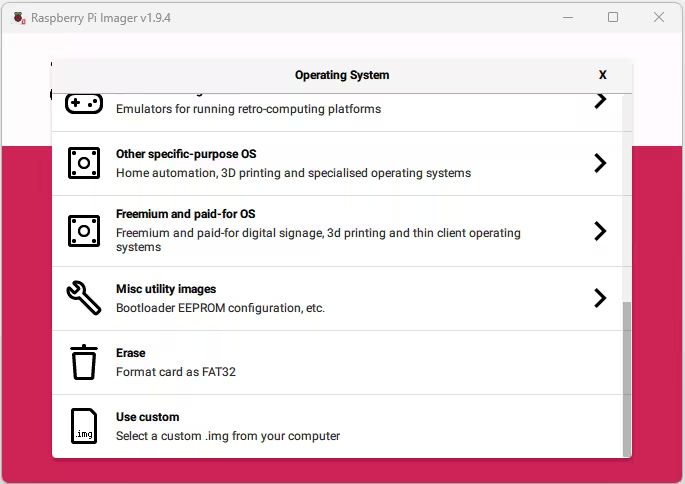
- Choose OS: Click Use Custom, then select the extracted image file 2025-06-17-custom-look-pi.img.
- Choose Storage: Select your inserted MicroSD card.

- Press Next to continue.
- You may set up network settings.- press Edit Settings. Do not change the "Username". The default password is 123123.

- Confirm the erasure of the MicroSD card, press Yes and wait for the process to complete.


Boot the Device
- Safely eject the MicroSD card from your computer.

- Insert the MicroSD card into your powered-off Raspberry Pi.
- Connect the power supply and wait for the system to boot.
If the internet connection was configured during setup, proceed to add the screen in your Look system.
If not, press F11 to open the settings interface, configure the internet connection, and then add the screen.
Pairing Media Device with Look CMS Account
You will see on the TV the 6-digit pairing code specific to your setup. Use this code to connect your device with your Look CMS account.
If you don’t have a Look CMS account, sign up here for free.
In Look CMS, click on the New Screen option located in the top right corner. In the modal window that appears, enter the 6-digit code of your device, specify its name and time zone, and click the Add button.
Can't find your answer?
Contact Support


